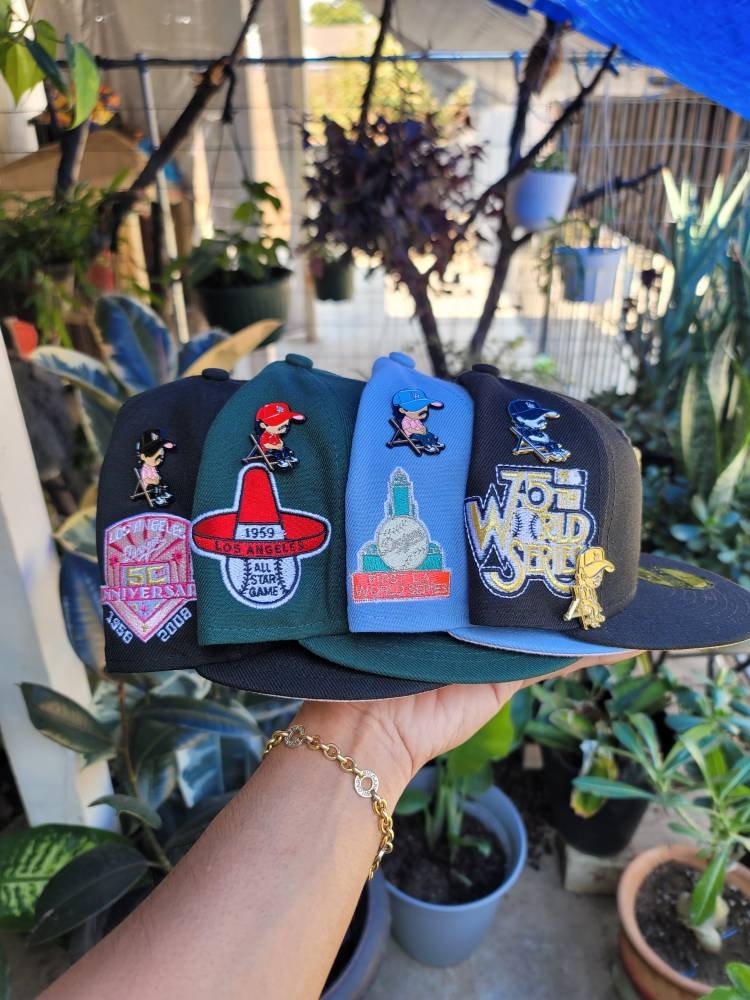
Hat pins are a fashionable and functional accessory that can add a unique touch to any outfit. Whether you’re looking to create a signature piece for your brand, commemorate an event, or design a personal keepsake, custom hat pins are a fantastic option. This guide will take you through the entire process of making custom hat pins, from conception to receiving your finished product.

Source:https://www.etsy.com/listing/1045528948/sold-out-i-got-you-fam-enamel-pin-old
1. Conceptualize Your Design
The first step in creating custom hat pins is to conceptualize your design. Here are some tips to help you get started:
- Inspiration: Look for inspiration from various sources such as nature, art, fashion, or personal experiences.
- Purpose: Consider the purpose of your pin. Are you designing it for a specific event, brand promotion, or personal use?
- Sketches: Create rough sketches of your ideas. This will help you visualize the final product and make necessary adjustments before finalizing the design.
Source:https://allaboutpins.com/hat-pins
2. Choose the Right Manufacturer
Selecting a reputable manufacturer is crucial for ensuring the quality of your custom hat pins. Here’s what to look for:
- Experience: Choose a manufacturer with extensive experience in producing custom pins. They will have the expertise to guide you through the process and ensure high-quality results.
- Portfolio: Review their portfolio to see examples of their previous work. This will give you an idea of their capabilities and style.
- Customer Reviews: Read customer reviews and testimonials to gauge their reliability and customer service.

Source:https://www.google.com/
3. Submit Your Design
Once you have a design ready, it’s time to submit it to the manufacturer. Here’s how:
- File Format: Ensure your design is in a format that the manufacturer can work with, typically vector files like AI, EPS, or SVG.
- Details: Include all relevant details such as colors, dimensions, and any specific instructions. This will help the manufacturer accurately reproduce your design.
- Feedback: Be open to feedback from the manufacturer. They may suggest changes to improve the final product or make it more cost-effective to produce.
Source:https://www.ultimatepromotions.biz/blog/enamel-pin-design-template
4. Choose the Material and Finish
The material and finish of your hat pins play a significant role in their appearance and durability. Common options include:
– Materials:
- Enamel: Soft or hard enamel finishes offer a smooth, colorful surface.
- Metal: Brass, iron, and zinc alloy are popular choices for their durability and aesthetic appeal.
– Finishes:
- Plating: Options like gold, silver, nickel, or black nickel plating can add a luxurious touch.
- Textures: Consider textures like sandblasting or antique finishes for added depth and interest.

5. Decide on the Attachment
The attachment type is an important consideration for hat pins. Common options include:
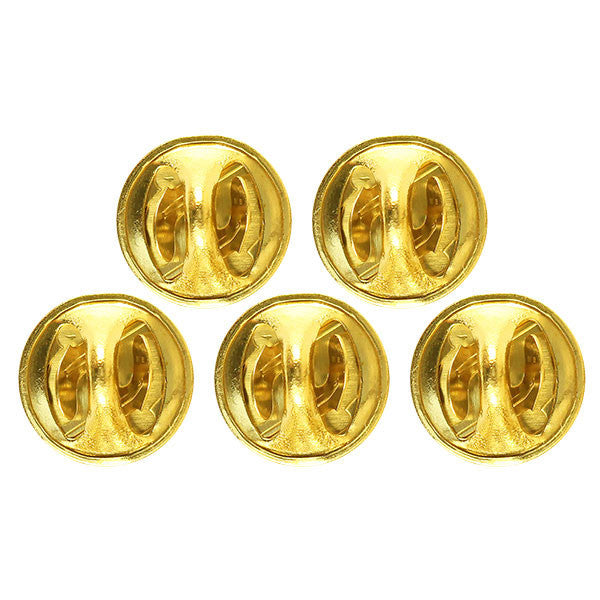
- Butterfly Clutch: A popular and secure option for most pins.
- Rubber Clutch: Offers a snug fit and is easy to use.
- Safety Pin: Provides additional security for larger or heavier pins.

6. Review and Approve the Proof
Before production begins, the manufacturer will provide a proof of your design. Here’s what to do:
- Check Details: Carefully review the proof to ensure all details are correct, including colors, size, and attachment type.
- Request Changes: If anything is not as expected, request changes. It’s easier to make adjustments at this stage than after production begins.
- Approval: Once you’re satisfied with the proof, give your approval to proceed with production.
7. Production and Quality Control
With your approval, the manufacturer will begin producing your custom hat pins. Here’s what happens next:
- Production: The pins are manufactured according to your specifications. This process can take a few weeks, depending on the complexity of your design and the manufacturer’s schedule.
- Quality Control: The manufacturer should conduct quality control checks to ensure each pin meets the agreed-upon standards.
8. Receive Your Custom Hat Pins
Once production is complete, your custom hat pins will be shipped to you. Here’s what to do upon receiving them:
- Inspect: Inspect the pins to ensure they meet your expectations and match the approved proof.
- Feedback: Provide feedback to the manufacturer if there are any issues or if you’re particularly pleased with the results.
Conclusion
Creating custom hat pins is a rewarding process that allows you to bring your unique vision to life. By following these steps and working with a reputable manufacturer, you can ensure high-quality, beautiful pins that meet your needs.
For top-notch custom hat pins, consider partnering with Blythe. With extensive experience, competitive pricing, and exceptional customer service, Blythe can help you design and produce pins that perfectly capture your vision. Visit Blythe today to start your custom hat pin project and create lasting impressions with expertly crafted pins.


